Ever happened that you ever seen damaged or repair wire insulation in your home or workplace? It is important to know how to fix the wire coverings since it helps maintain safety and reduce the chances of accidents. This blog post will take you through the steps involved in repairing wire insulations, starting from noticing any damages to taking safety precautions. We shall now embark on a journey into the world of wire maintenance to have your electrical systems done and dusted!
Understanding Wire Insulation
Wire insulation is a protective covering for electrical wires, typically made of materials such as rubber, plastic or fiberglass. It serves to isolate wires from each other and external factors. In addition, it ensures that the wire remains conductive and eliminates electricity leaking.
Cables are insulated according to their application and environment which determine the thicknessness required for insulation. Electrical systems often use different colors to signify different functions or voltages. You must be able to differentiate between them in order to select the most appropriate type of wire for your specific needs.
If insulation mechanisms are properly kept up, they can provide a sufficient safeguard against electric shocks, short-circuiting, and fire outbreaks. Systematic checks may reveal the initial stages of damage or deterioration before they become major setbacks. For improved safety of your premises and those neighboring them, get acquainted with the basics of wire insulator theory.
Signs of Damaged Wire Insulation

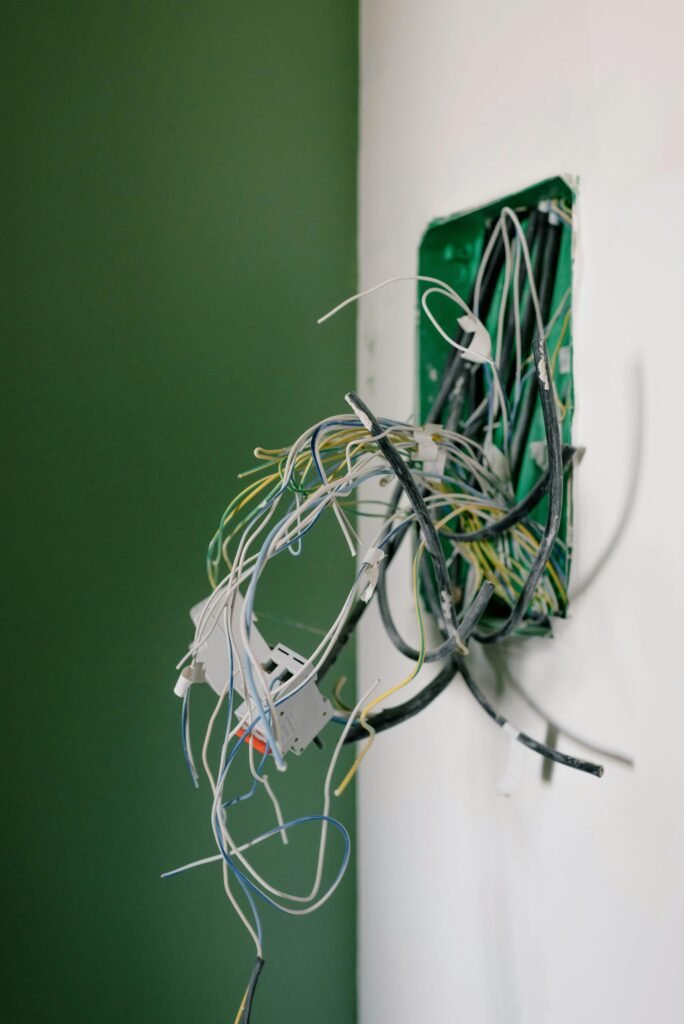
Have you ever noticed bare wires in your house or office? Unattended damaged insulation of a wire can lead to major safety risks. One common indicator of worn-out insulation is when there are observable damages on the outermost part of the wire. These may take the form of cracks, fraying, or even complete removal of the insulating materials.
Additionally, electrical complications like flickering lights, circuit breakers that trip constantly, and outlets that emit sparks might also be considered as indications that your inner wiring has been exposed thus necessitating repair work so as to forestall further damages or possible electrical infernos.
Addressing any signals showing bad insulation should be done promptly for the purpose of preventing risky situations and ensuring efficient functioning of your electric systems. To help you catch potentially serious problems at an earlier stage before they turn into greater ones, consider watching out for these signs during routine wire inspections.
Safety Precautions Before Repairing Wire Insulation
When working with electric wires, safety should be a priority. It is important to take necessary precautions before repair wire insulation.
First and foremost, ensure that the power source connected to the wire is switched off. This may seem basic but it’s for your own good.
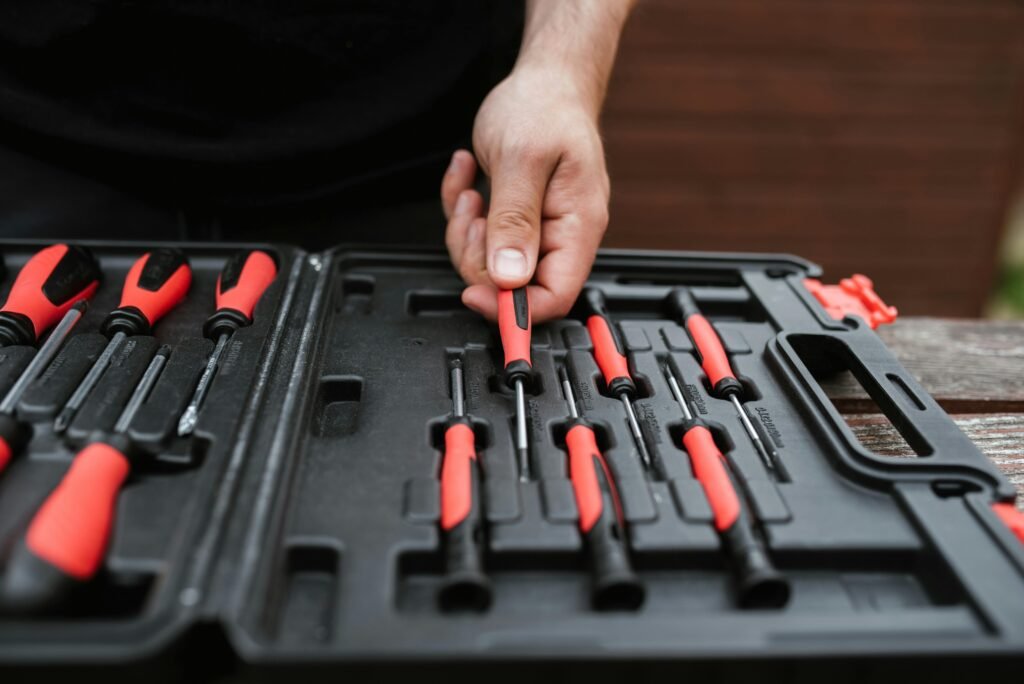
Next, avoid shocks due to electricity by using insulated tools when handling cables. Besides, protective gloves are worn for double assurance.
Before touching any wires, visually inspect them for signs of damage or wear. Should you see wires exposed or insulation frayed do not fix it yourself, instead ask an expert to repair wire insulation for you.
You should work in a well-illuminated environment and have someone close by in case there are emergencies. Do not rush through the process, take your time and move slowly.
If you follow these precautions strictly then you minimize chances of accidents while repair wire insulation safely.
Tools and Materials Needed for Repair

When it comes to mending wire insulations, the right tools and materials are essential. Before starting any repair wire insulation work, make sure you have a few essential items on hand.
You will need a wire stripper or cutter to remove without any harm for wires underneath the damaged insulation. This tool permits precise stripping without causing further damage.
Next, your electrical tape should be ready so that you can insulate and protect the part that has been repaired after fixing the worn-out areas. It is important to use good quality electrical tape that can endure heat and stop water from getting in.
In addition to this, heat shrink tubing helps to add another layer of protection around repair wire insulation. By utilizing a heat source like a hair dryer or heat gun, this tubing shrinks tightly around the wire thereby making a tough seal that is hard-wearing.
Having some cable ties handy can help keep your wires organized and secure after completing the repair wire insulation job. These simple yet effective instruments ensure that you’re wiring will remain neat and tidy in place.
By having these tools and materials ready before you begin repair wire insulation, you’ll be well-equipped to handle any issues that may arise efficiently.
Step-by-Step Guide to Repairing Wire Insulation
First, identify where the wire has been damaged so that you can begin fixing its insulation. Then use a stripping tool to carefully eliminate the spoilt insulation without cutting through the wire it protects. Make sure that you strip enough insulation off for a good clean section of wire for proper repair wire insulation.
Take electrical tape and carefully wrap it around the bare wire. Ensure that no spaces or loose ends are on the tape to guard against any future damage or exposure. The exposed part should be uniformly and tightly wrapped with tape.
Use heat shrink tubing over the taped area once you have wrapped your wires in electrical tape. Use a heat gun or lighter to shrink the tube and seal it around the repaired part of the wire. This additional layer ensures more safety against humidity and wear from physical contact.
After following these steps test the repair wire insulation before reinstalling it back in its original location to ensure its proper functioning. Properly fixing wire insulations is important for safety as well as retaining electricity connections in various applications.
Tips for Preventing Future Damage to Wire Insulation

Regular inspection is the catchword to keep wire insulation from future damage. Inspect for worn-out insulation coatings, which are cracks or fraying marks on the insulation. Detecting such problems early is crucial.
Avoid excessive bending and pulling when handling wires. This will help them last longer and maintain their integrity. Besides, you should be aware of where you are placing them – extreme temperatures and exposure to moisture may enhance insulation decay.
Storage should be done correctly to avoid damage. It should be noted that keeping wires away from sharp objects that may pierce through the insulation and expose naked wires is necessary. During usage arranging cables in an orderly manner prevents undue pressure on insulation.
Investing in good quality wire management tools like cable sleeves or clips can prevent potential harm to your wires. By doing this, you would be able to make your wire’s lifetime more extended as well as secure your electrical systems’ operation.
Conclusion
Make sure you know how to repair wire insulation as it is a very important skill that will help maintain electrical safety in your premises. This ability comes with comprehending the significance of the insulation as well as being able to identify a problem, taking necessary precautions, choosing the right tools and materials, and following step by step instructions on the procedure of repairing such wires hence fixing any issues connected with its damage.
Just like any other thing, it is better to avoid than cure. Regularly inspecting wires for wear and tear can be one way to prevent future damage. Avoid overloading circuits, keep cords far from heat sources or sharp objects.
Ensure that you proactively take care of your electrical wiring so that you can always repair wire insulation correctly whenever required. Be informed; be safe!

